

Version: 6. Current as of March 2021.
Download these instructions as PDF.
A GeoPDF is a georeferenced or geospatial PDF file, meaning that it is a Portable Document Format (PDF) file with added information that relates the image to coordinates on a map and allows the user some limited mapping functions such as turning map layers on and off.
This page:
- Accessing your GeoPDFs
- Install Adobe Acrobat Reader DC
- Viewing your GeoPDF
- Close the Tools Pane
- Layers in the navigation pane
- Property boundary view
- Turning off a layer group
Key points
- Once you master the use of your first GeoPDF you will be able to apply the same principles to any future AgForce member information GeoPDF, even if the information displayed is different.
- The use of technology to better understand a situation could greatly enhance outcomes for your business.
- For example, using a tool like the GeoPDF allows you to keep on top of potential changes to the vegetation mapping over your property provided the relevant mapping data is available.
- A GeoPDF can also be used in the Avenza Map app providing the capability to use the GeoPDF in the paddock and know where you are via satellite connectivity.
Accessing your GeoPDFs
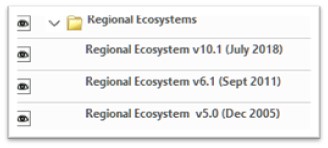
Image: AgForce sign-in page
From the AgForce website or a link provided in an email, you will need to sign into the AgForce member portal using your email address and your password.
For first time users of the member portal, you will need to create your password. If you have previously created a password but forgotten it, you can use the Forgot your password? option to gain access.
Once signed in your name will appear in the top right-hand corner, if you hover your mouse over your name a list of options available to your membership will appear and look something like the following. Your property GeoPDFs are located within the Properties option.

Image: Membership options on login
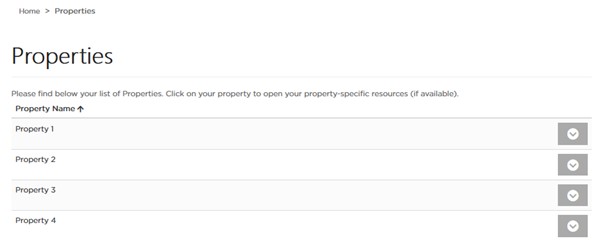
Image: Property list
Click on Properties, the properties currently listed with AgForce and linked to your enterprise will appear, like the example above.
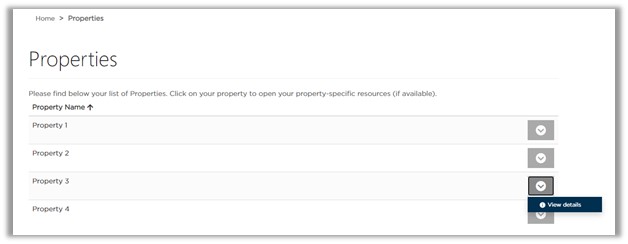
Image: Viewing property details
To access the GeoPDF for your property click on the drop-down arrow against the required property, then click on the View details option.
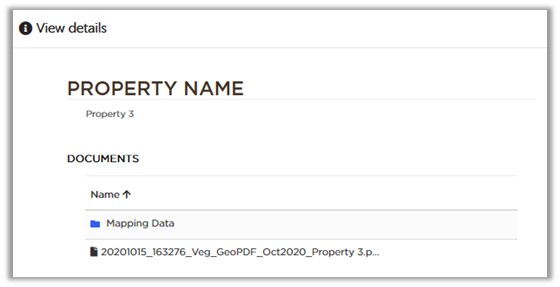
Image: Available property information
Any mapping data or GeoPDF maps pertaining to your property will be listed as shown above. The following explains the breakdown of the GeoPDF file name:
- 20201015 – date the GeoPDF was made (yyyy/mm/dd)
- 163276 – property ID unique to this property only
- Veg_GeoPDF – map product.
- Oct2020 – date of mapping data used to create the GeoPDF, in this example, it refers to the date of vegetation mapping used.
- Property 3 – the name of the property
The recommended application to view and get the most out of the GeoPDF is Acrobat Reader DC, free to download and use.
If you already have Acrobat Reader DC installed go to the Viewing your GeoPDF section and continue.
If you need to install Acrobat Reader DC complete the following installation instructions.
Install Adobe Acrobat Reader DC
If you already have this application installed, please disregard this step.
It is recommended to use Acrobat Reader DC to open the GeoPDF. This software is free and is widely trusted as a safe and effective program. You can download it for free from https://get.adobe.com/reader
Before you begin the installation, check the Optional Offers regarding McAfee. You should already have a security application installed, if so, uncheck these two options. You may want to install the Adobe Reader Chrome Extension; it allows you to open PDF files from Google Chrome.
Click the Download Acrobat Reader button to download and complete your installation. Once installed, you are ready to view the GeoPDF files.
![]()
Image: Download Acrobat Reader button
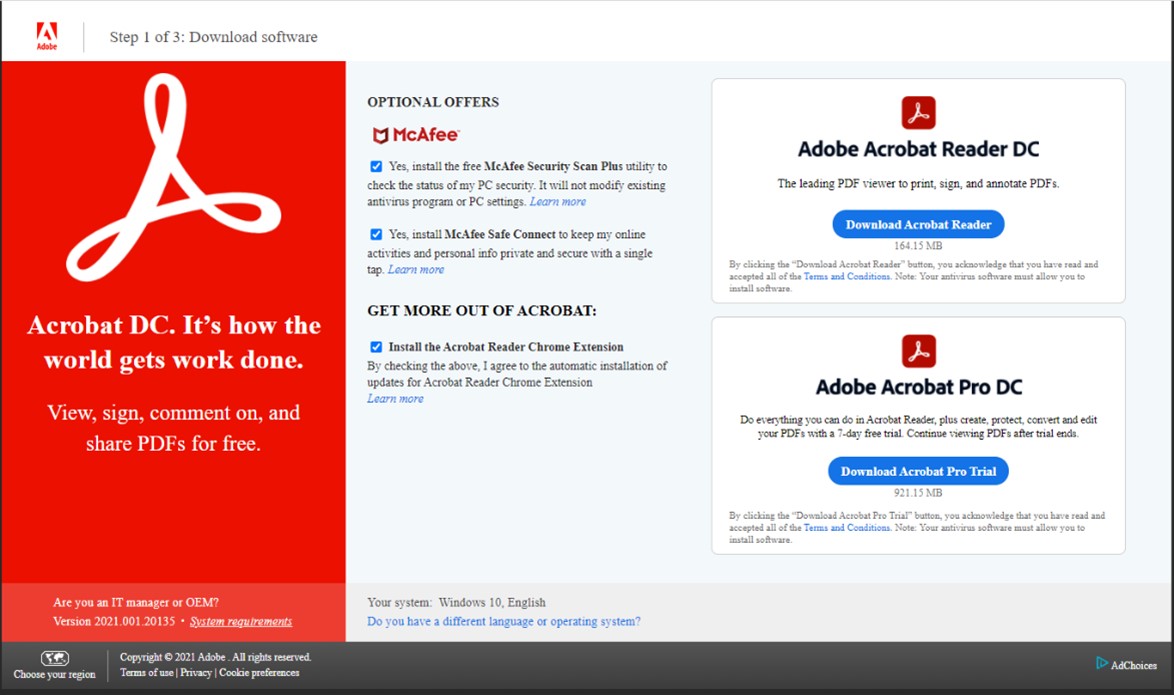
Image: Adobe Acrobat Reader DC
Viewing your GeoPDF
To use your property GeoPDF you have two options to access it. This will be dependent on the setup of your computer. When you click on the PDF file to open, one of two options will happen:
- Your computer will ask you to either open, save or close this option, or
- The GeoPDF will automatically download to your computer’s downloads folder.
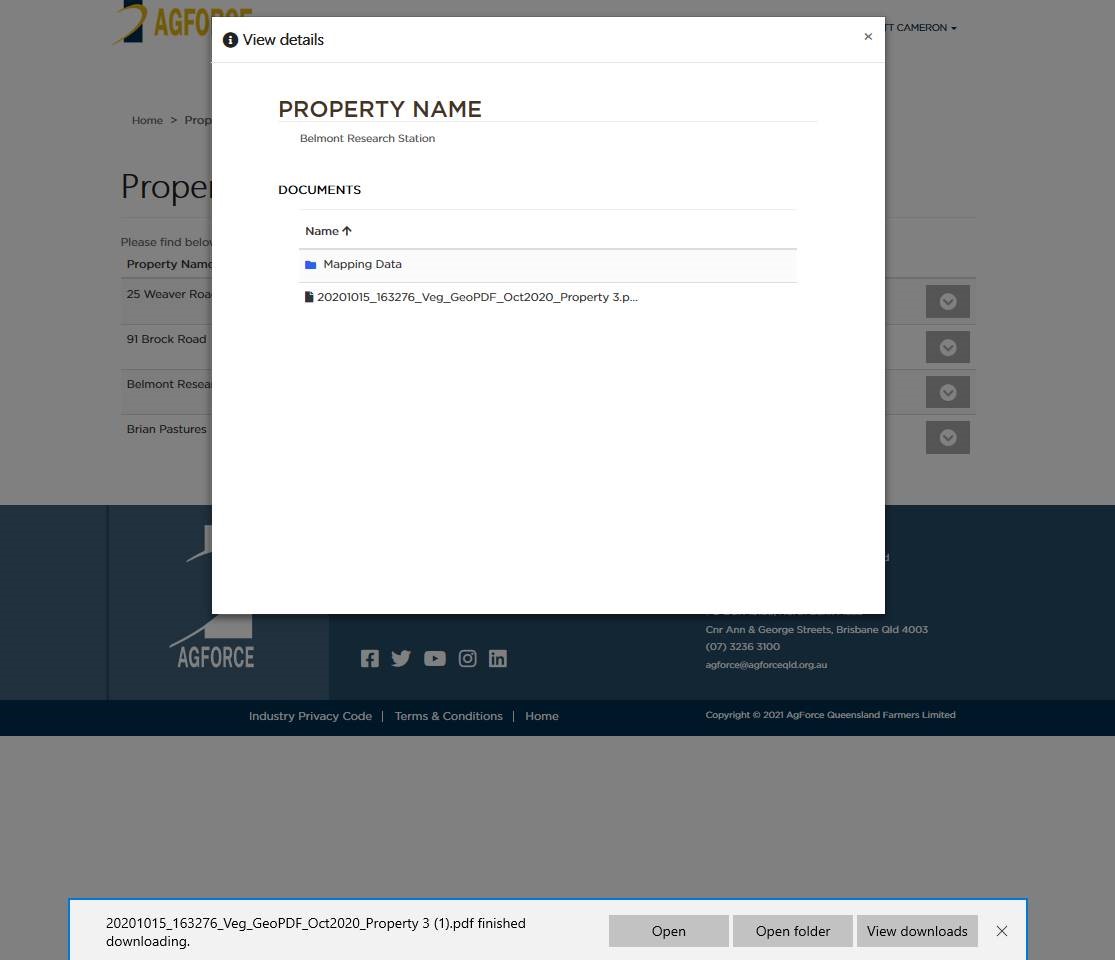
Image: Properties with download options prompt
If you select 'Open' the GeoPDF will open and you’ll have full functionality to use this map. If you select 'Save' it will download the file to your computer’s downloads folder.
To find automatically downloaded files, open Windows File Explorer and navigate to the Downloads folder.
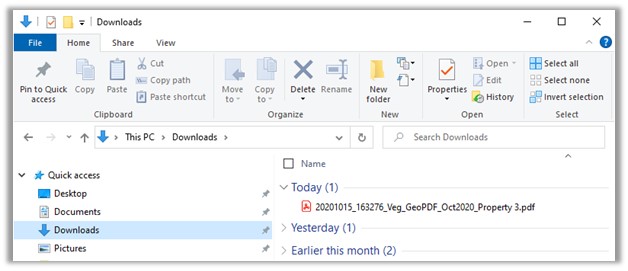
Image: Windows Explorer downloads
Double click the PDF file to open it in Acrobat Reader DC.
Now that your GeoPDF is open, you will see this layout:
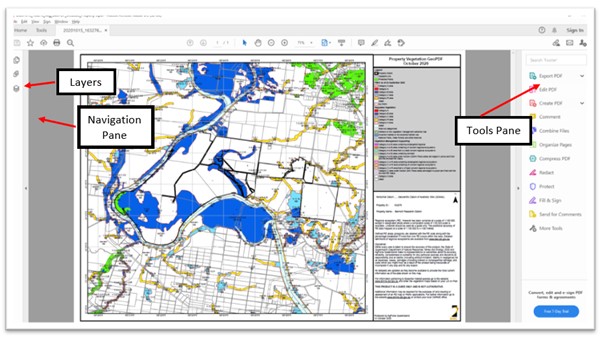
Image: GeoPDF layout
Close the Tools Pane
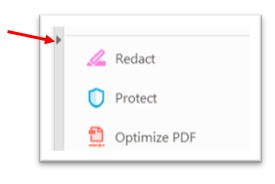
Image: Close the Tools Pane
It is recommended to close the Tools Pane on the right-hand side of your screen by clicking on the small arrowhead half-way down the left-hand side of this pane.
This will provide more space for your map.
Layers in the navigation pane
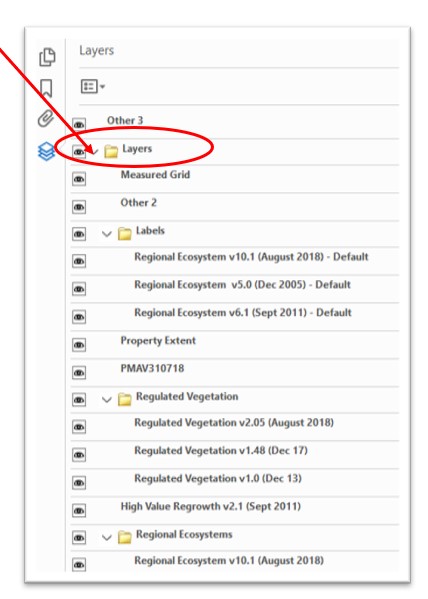
Image: Navigation pane
Now click on the Layers icon in the Navigation Pane on the left-hand side of your screen.
Click on the arrowhead (>) next to the Layers group (yellow folder) as pictured above.
Pictured above is an example of the Layers expanded, displaying the information available. This will expand and show the contents of the groups.
Expand all required layer groups using the same process, for example, the Labels, Regulated Vegetation and Regional Ecosystem layer groups by clicking on the arrow (>) next to each yellow folder.
Property boundary view
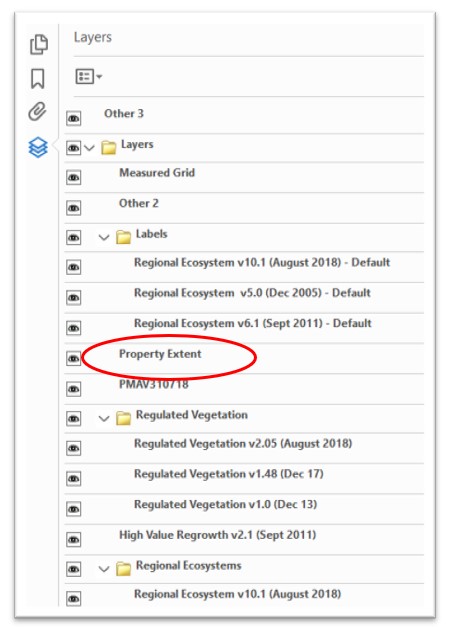
Image: Viewing your property boundary
Take a few minutes to look through the layers presented in this product, so you understand what has been provided.
To make it easier to start reviewing and comparing layers turn off all layers except for the ‘Property Extent’ layer. This layer shows your property boundary.
To turn a layer off click on the eyeball next to the layer.
The reverse is required to turn a layer back on. The property boundary based on your Lot on Plan numbers are now visible.
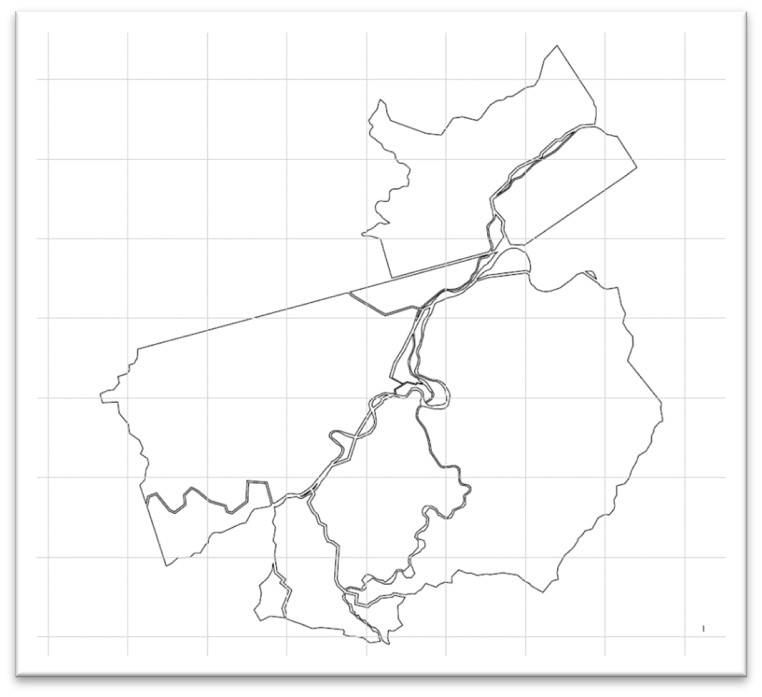
Image: Property extent view only
Turning off a layer group
You can turn off a layer group (the ones with the yellow folder next to it) without the need to turn off individual layers within that group.
The individual layers within that group are now inactive.
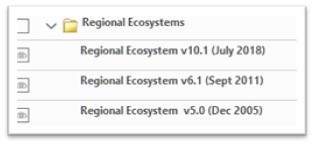
Image: Turning off all layers in a layer group
To turn these layers back on you must turn on the layer group.
Image: Turning a layer group back on
If you receive a ‘Parent Label Disabled’ notification/error message it is because you have turned off a parent/base layer, so it cannot show the other layers on top of it.
You just need to turn on the corresponding parent/base layer (next to the folders).
You can now compare the layers between themselves, for example, the PMAV layer, if available, to the regulated vegetation layer.
Make sure you use the map’s legend to understand what you are looking at.